Top 7 Induction Sealing Problems and How to Overcome Them
Like any other packaging machinery, induction sealers are susceptible to worn parts and potential malfunctions. If you want to keep your machine in smooth working order, it's important to know some common faults and their solutions before they hamper your total production progress.
When an induction sealing machine suddenly breaks down, what we most often do is shut down the machine immediately. However, sometimes just stopping the machine may not solve the problem, plus many operators do not have professional repair knowledge. In this case, it becomes tough to get the machine back to normal.
No worries! we've put together a list of common induction sealing problems and troubleshooting tips for you. The next time your machine fails, you'll be able to handle it with ease.
What is Induction Sealing?
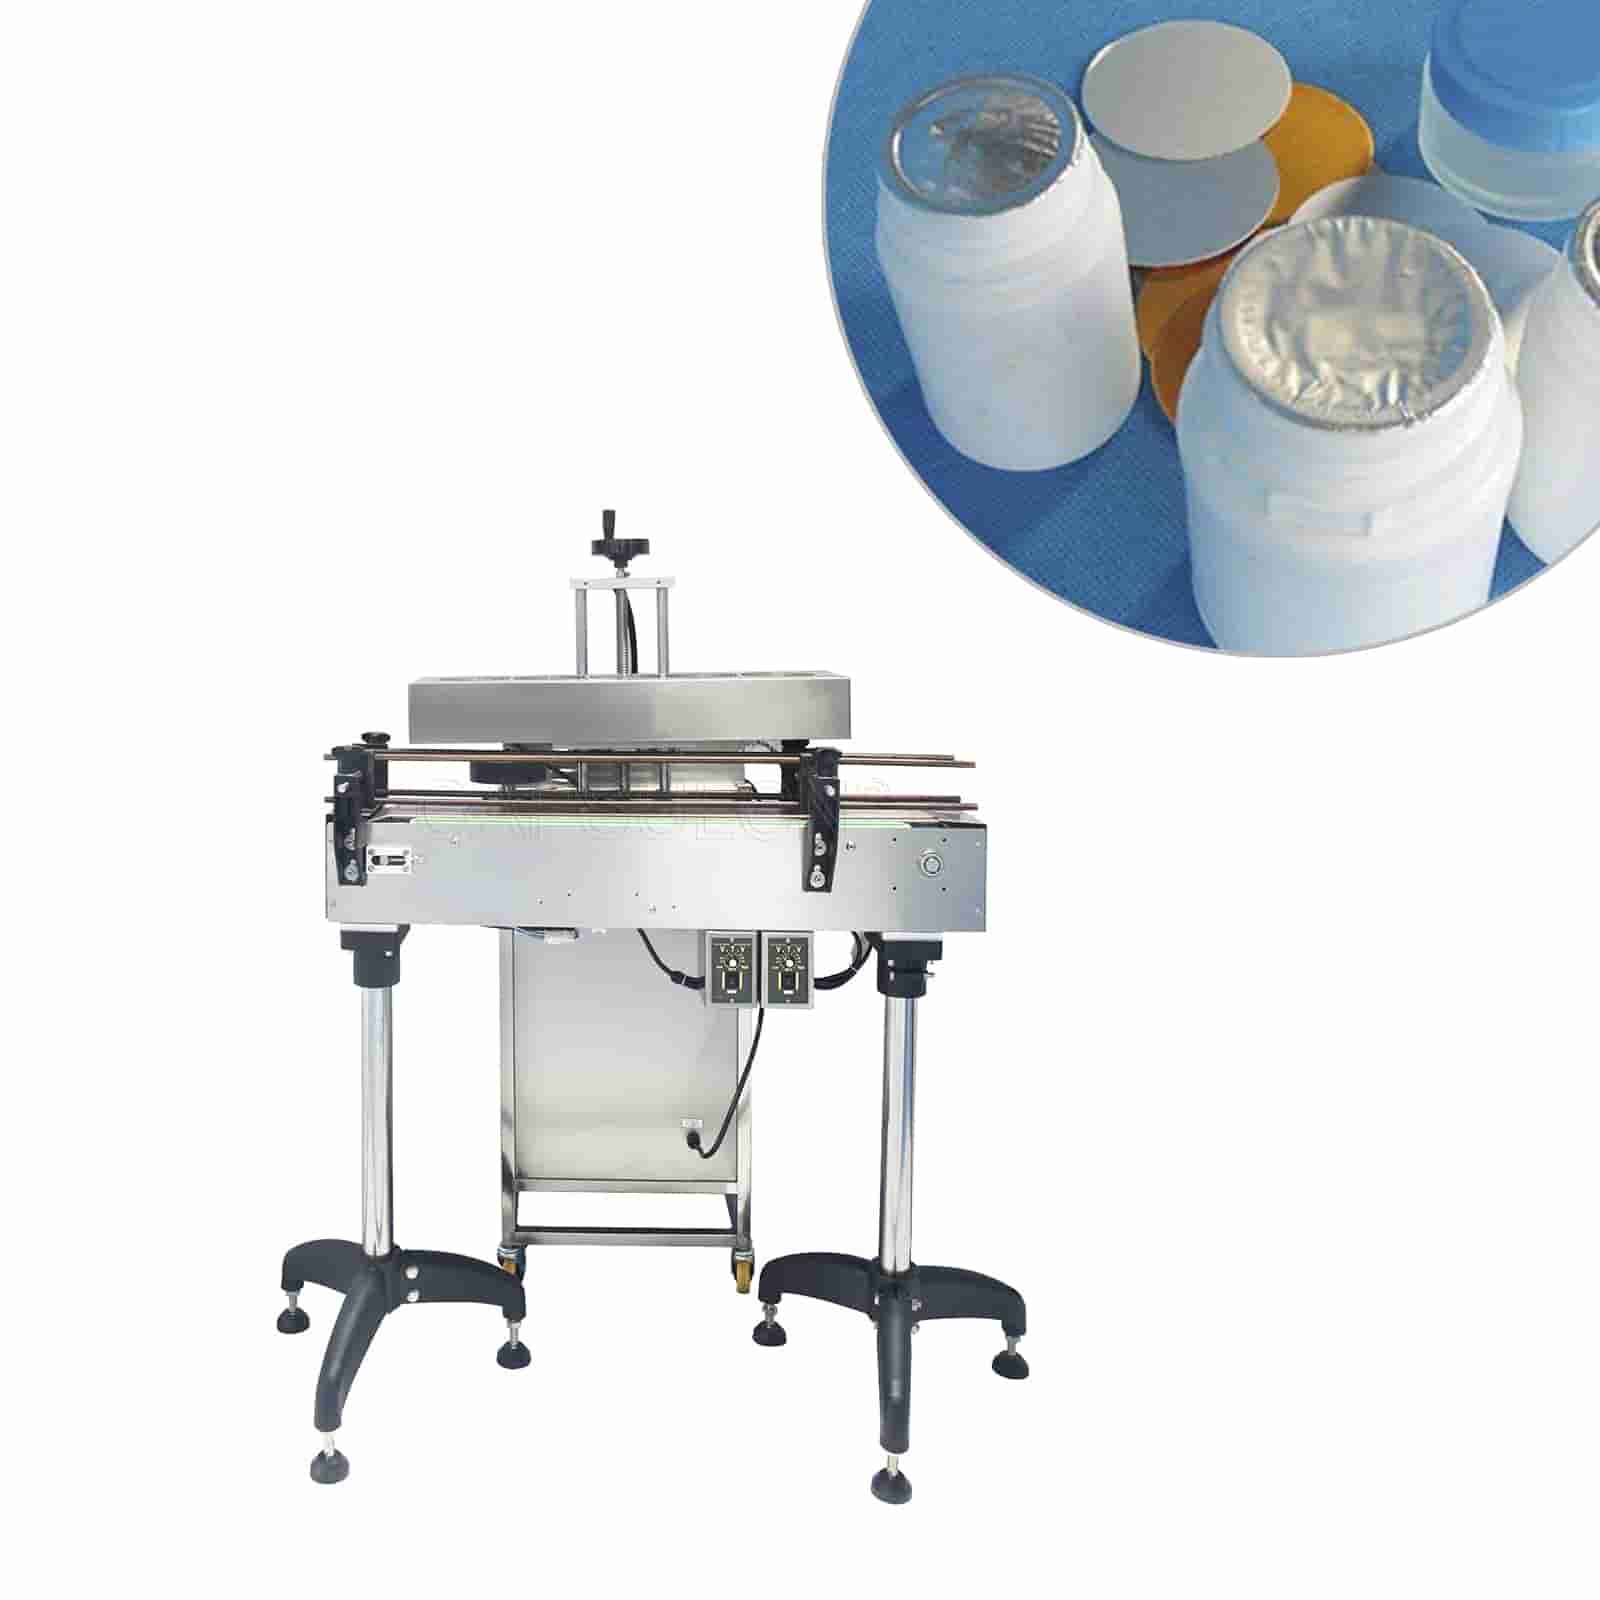
Before diving into the common failures of induction sealers, let's first look at what induction sealing technology is. In fact, the induction sealing process is quite simple.
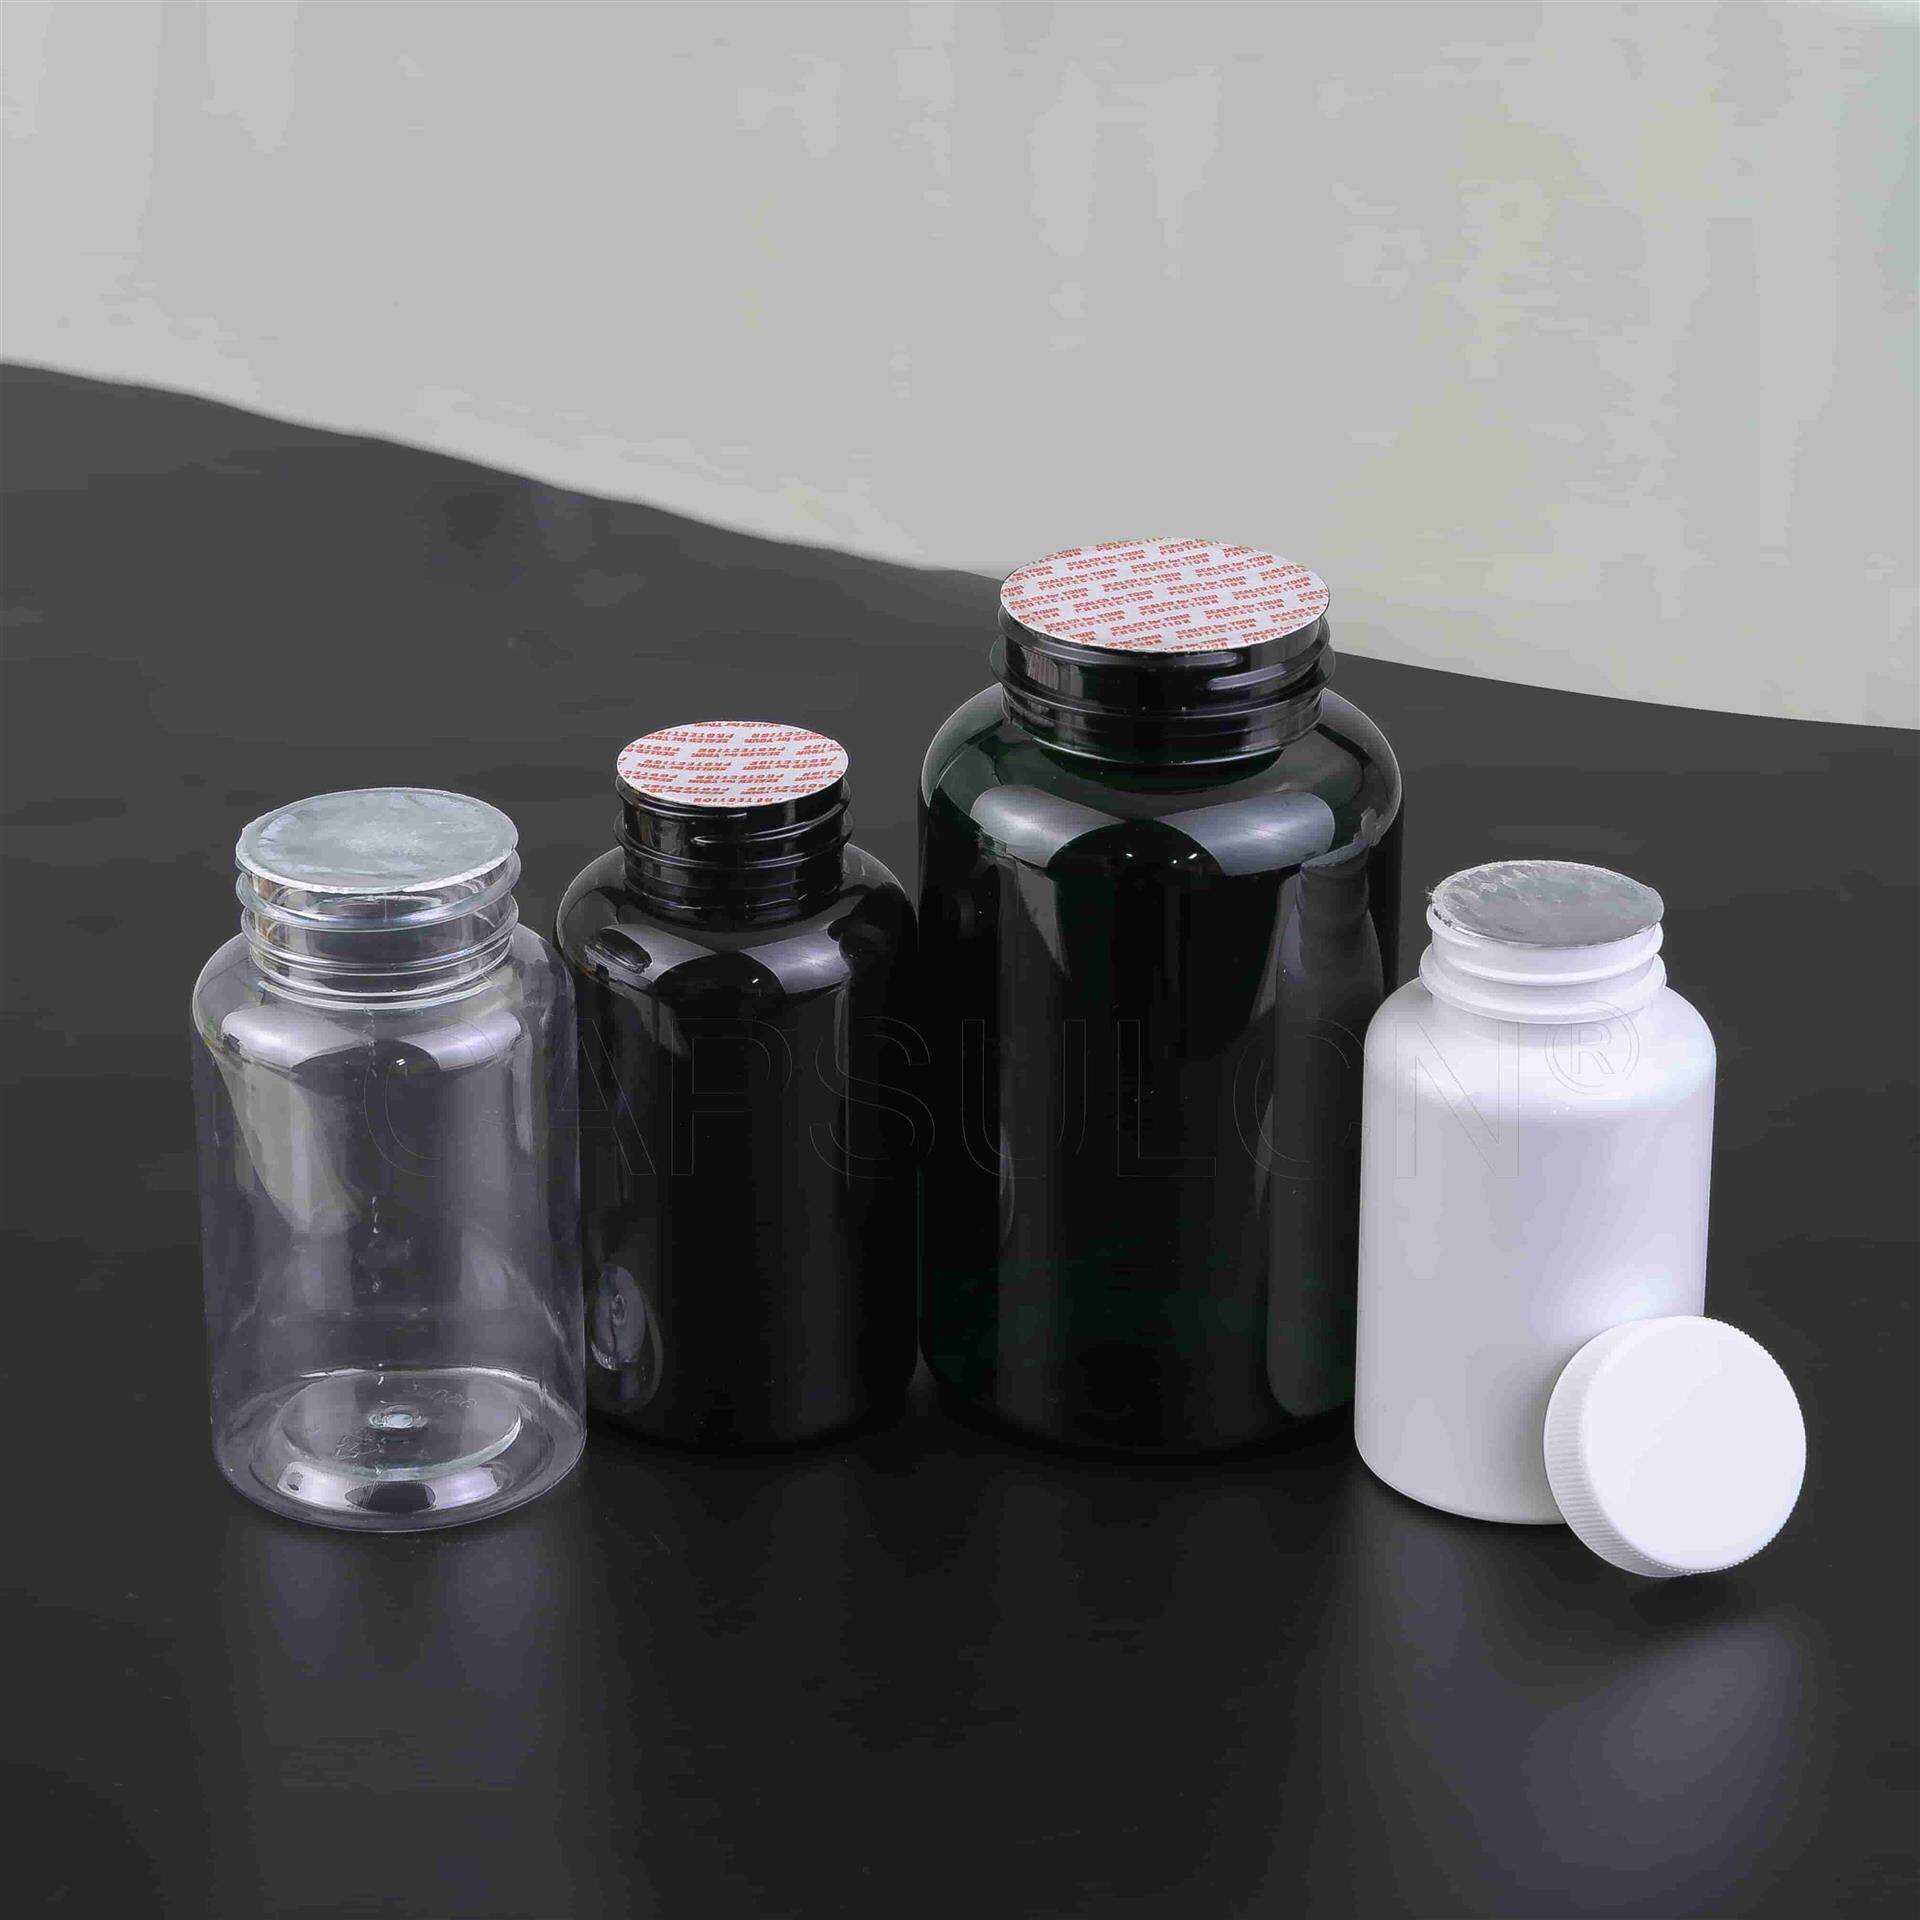
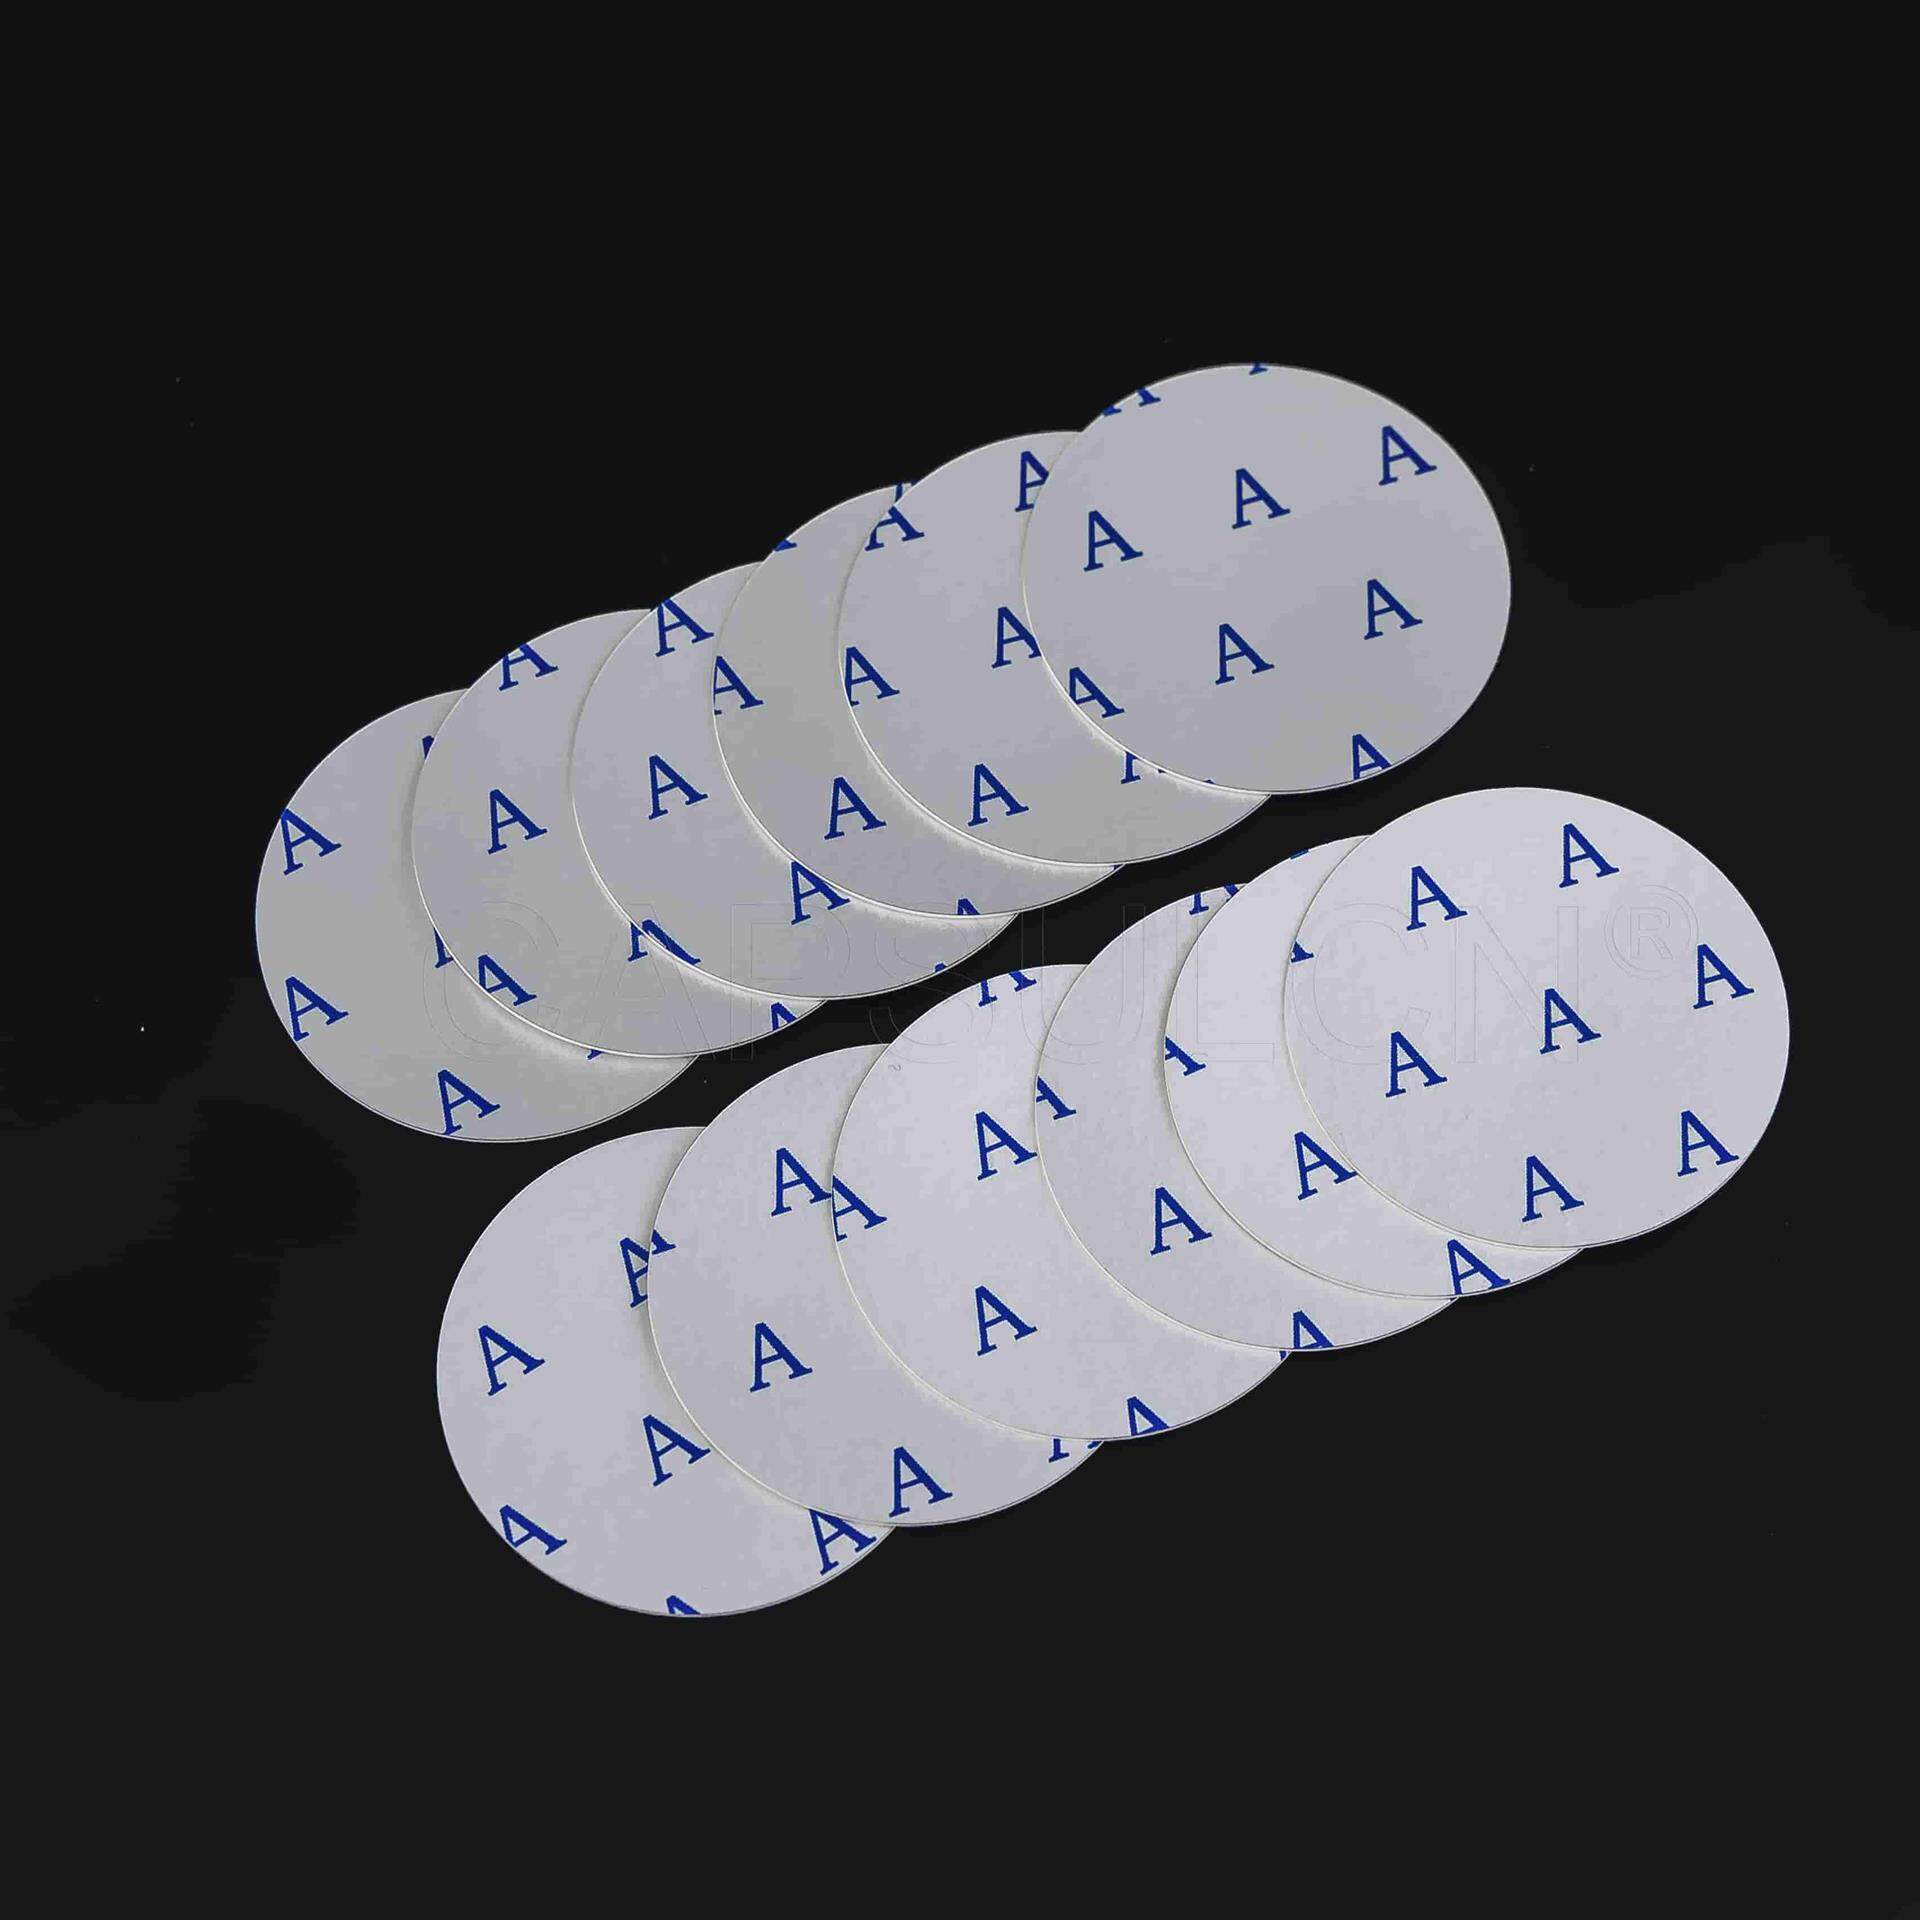
First, the product-filled container and the cap with the aluminum foil liner are placed under the induction sealer. As the machine starts to work, the electromagnetic field transfers heat to the foil liner, which will melt the foil.
Once the liner cools down, a durable airtight seal takes shape on the container. This prevents product leakage and contamination. Also, it guards against counterfeiting and tampering.
What are the Common Induction Sealing Problems?
Check out some common induction sealer problems and solutions below. This will inspire you on how to keep your machine in tip-top shape.
1. There is no seal or it's weak
Weak seal is the most frequent issue with induction sealers, and the following are possible causes of such failure.
Causes:
- When the conveyor speed is too fast or the machine power is too low, the foil liner may not be properly heated.
- Improper coil height may affect the electromagnetic field generated by the machine, which could hinder the heating process.
- If the cap torque is set too low, the cap will come loose on the container. This probably will cause the liner to come right off when sealing.
- If the induction liner is not compatible with the container material, they will not bond well.
- Contaminants on the container mouth may stop the liner from bonding to the container as intended.
Solutions:
- Reset the machine power and conveyor speed.
- Adjust the coil height to make the distance between the coil and the container just right.
- Tighten the cap with the proper torque.
- Replace the old liner with a compatible one so as to get the best adhesion.
- Clean the container thoroughly to eliminate any stains on it.
2. The water shortage alarm is on
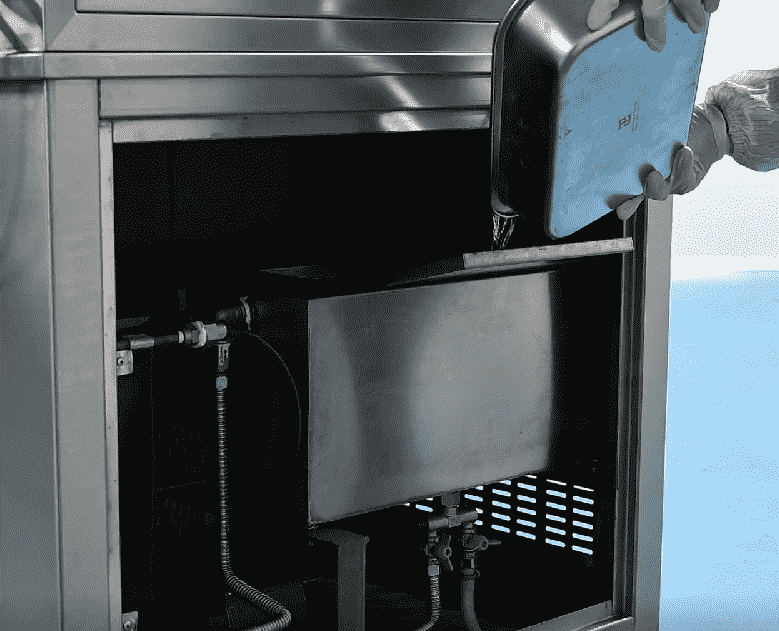
Causes:
- We've run out of cooling water in the tank.
- The water flow is not strong enough.
- The water temperature is too high.
Solutions:
- Fill the water tank until the water level ball rises.
- Check if the water pump is working well.
- Check the water outlet and unscrew the water flow switch to see if there is any dirt blocking the water inlet.
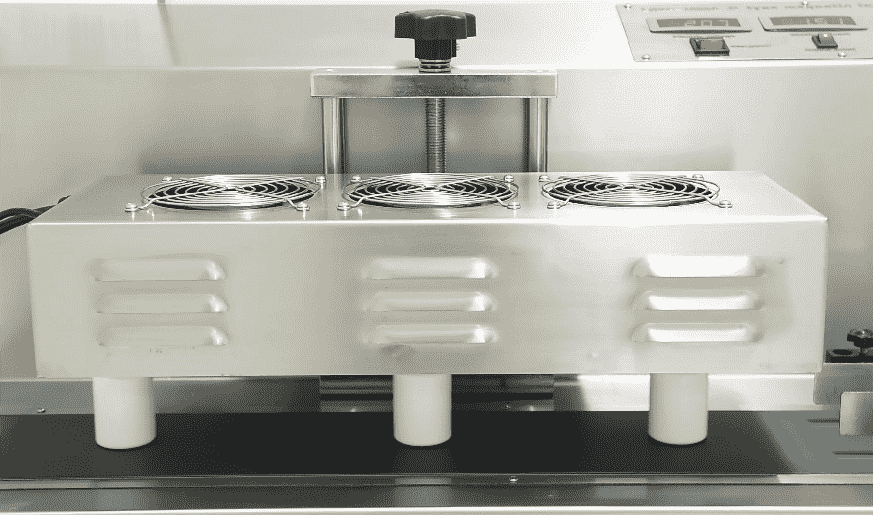
- Inspect the cooling fan to make sure it is running properly.
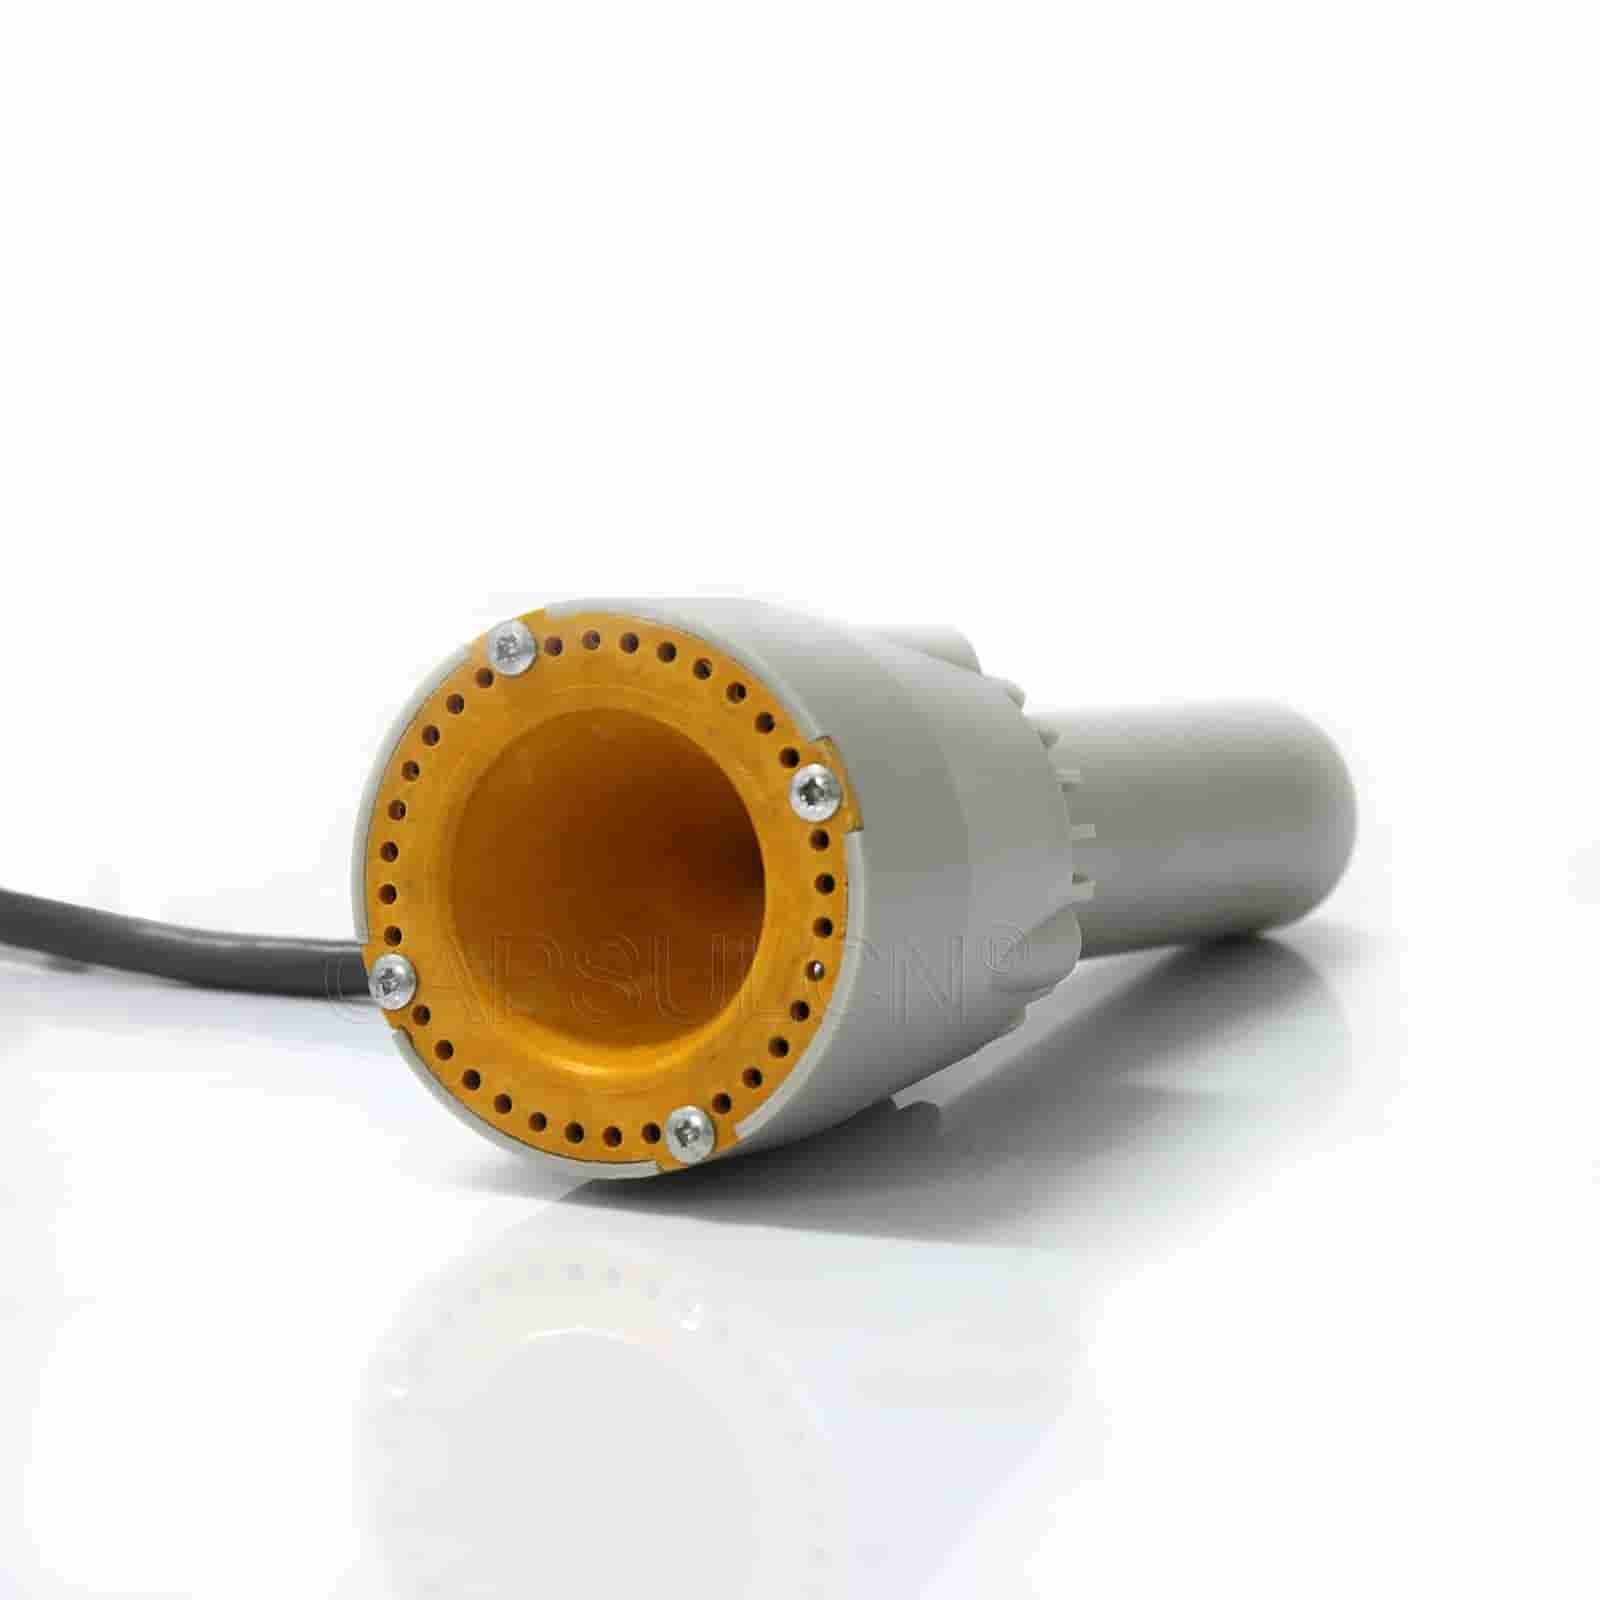
3. The induction head breaks down
Causes:
- The solid state relay does not conduct electricity during the sealing process.
- The induction head has been damaged.
Solutions:
- Use a tool to measure the filter capacitor for DC voltage, and replace the solid state relay if no voltage is present.
- Repair the induction head or replace it with a new one.
4. The container is overheated
Causes:
- The motor power may be set too high
- The whole production line is running slowly which extends the heating time.
- The low position of coils can cause too much heat buildup.
Solutions:
- Reduce motor power to prevent excessive heat generation.
- Speeds up the production line and reduces the heating time for each container.
- Raise coil height to allow for proper heat distribution.
5. The cap does not come off
Causes:
- The induction sealer is not powerful enough for the wax to melt sufficiently.
- The coil is placed too high.
- The capping torque is too strong, making it over tighten the cap.
- The foam liner polymer is sticking to the induction liner polymer.
Solutions:
- Enhance the power of the machine.
- Lower the coil height.
- Apply proper torque to the cap.
- Separate foam liner and induction liner.
6. The removal torque is too high
Causes:
- The machine is under powered or the conveyor speed is too fast, leading to insufficient wax suction.
- The application torque is set too high.
- The liner is too small and the plastic on the container surface intrudes into the pulp.
- Use too much bonding wax or wrong template.
Solutions:
- Adjust the machine power and conveyor belt speed.
- Reset the application torque.
- Choosing the right size of liner.
- Reduce the amount of bonding wax and use the right template.
7. The foil detection fails
Causes:
- The dirt is blocking the sensor.
- The foil liner is too thin to be detected.
Solutions:
- Clean the sensor thoroughly.
- Use a thicker foil liner.
Tips for Maintaining Induction Sealing Machines
Just like troubleshooting your induction sealing machine, regular maintenance is also important. It can help you minimize the chances of your induction sealer malfunctioning at the source. Also, adhering to regular maintenance can extend the service life of your machine.
Typically, cleaning, lubrication and parts inspection are the most important tasks in an induction sealer maintenance program. Now let's explore them one by one!
Clean the machine on a daily basis:
- After each use, clean the exterior of the machine and the work surfaces.
- Clean the control panel regularly to avoid dust buildup.
- Clean the stained machine frame with alcohol.
Perform regular lubrication:
- Apply appropriate lubricant to all moving parts.
- Lubricate the conveyor belt regularly.
Perform parts inspection:
- Check the machine's power supply and all wires. Just make sure they are not damaged.
- Check loose parts and tighten them in time.
- Check wearing parts and replace them immediately if broken.
- Perform a test run on the machine.
The Bottom Line
To keep your induction sealer in good condition, it's important to know troubleshooting and maintenance techniques. Next time your machine breaks down, you may be able to get it back to normal with the knowledge you've learned here.
Leave your comment
Also Offers


Containment Automatic Capsule Filling Machine SFK-703

Fully Automatic Dosator Capsule Filling Machine CZ-40


Our Team
As an expert in the pharmaceutical and pharmaceutical packaging industry, iPharMachine has provided solutions for hundreds of pharmaceutical and health product manufacturers for 17 years. By visiting customers, we get good reviews from our customers.
- info@ipharmachine.com
- English Español Deutsche
